Residential roofing installation is crucial for protecting your home from the elements and enhancing its appearance. This guide will take you through the entire process of installing a new roof, from preparation and choosing materials to installation and maintenance.
1. Understanding Residential Roofing Installation
Roofing installation is more than just putting shingles on a house. It involves a detailed approach that considers the roof’s strength, its ability to resist weather, and how it looks. Proper installation ensures the roof will work well for many years, protecting your home from leaks and damage.
2. Preparation and Planning
2.1. Assessing the Current Roof
Before starting a new roofing project, it’s important to check the condition of the existing roof. Look for signs of damage, like leaks, sagging, or missing shingles. Knowing the state of your current roof helps plan the new installation, whether you need to remove the old roof completely or just add new shingles on top.
2.2. Choosing Roofing Materials
Selecting the right roofing material is essential. Here are some popular options:
- Asphalt Shingles: Affordable and widely used, asphalt shingles come in various styles and colors. They are easy to install and usually last 15-30 years.
- Metal Roofing: Known for its strength and energy efficiency, metal roofing can last 40-70 years. It comes in different styles, including panels and shingles.
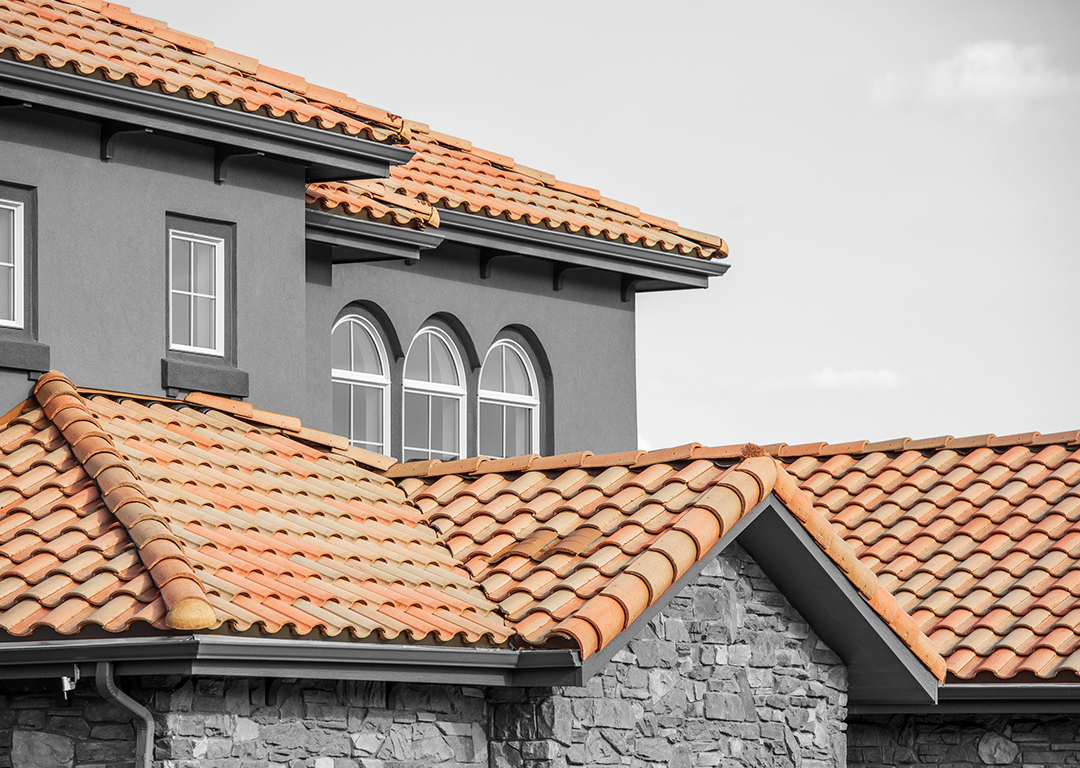
- Clay and Concrete Tiles: These offer a unique look and are very durable, lasting 50-100 years. They are great for warmer climates but can be heavy.
- Wood Shingles and Shakes: These give a natural appearance and need regular maintenance, lasting about 20-40 years.
- Slate Roofing: Slate is a high-quality material known for its beauty and durability. It can last over 100 years but is more expensive.
2.3. Permits and Regulations
Before starting, check with local authorities to see if you need a permit. Building codes and rules vary by location, and following them is important for safety and legal reasons.
3. Preparing the Site
3.1. Safety Measures
Safety is crucial during roofing installation. Make sure all workers use safety gear, like harnesses and helmets. Set up scaffolding or ladders securely and keep the site free of hazards.
3.2. Site Preparation
Clear the area around the house of any debris or obstacles. Protect your landscaping and outdoor features by covering them with tarps or other protective materials. Arrange for a dumpster or disposal system to handle old roofing materials.
4. Removing the Old Roof
4.1. Tear-Off Process
The first step in installing a new roof is removing the old one. This means stripping away old shingles or other roofing materials down to the base. Be careful to avoid damaging the structure underneath.
4.2. Inspecting and Repairing the Decking
Once the old materials are removed, check the decking (the surface under the roof) for damage or rot. Repair or replace any damaged sections to ensure a strong base for the new roof.
5. Installing the New Roof
5.1. Underlayment Installation
Before adding new shingles, lay down an underlayment. This layer acts as an extra barrier against water and adds protection. Common types are felt paper and synthetic materials.
5.2. Installing Flashing
Flashing is used around chimneys, vents, and other roof openings to direct water away and prevent leaks. Proper installation of flashing is key to keeping these areas watertight.
5.3. Shingle Installation
Start installing shingles from the bottom of the roof and work your way up. Make sure the shingles are aligned properly and overlap as specified by the manufacturer. This prevents water from seeping through and gives the roof a neat appearance.
- Starter Strip: The first row of shingles is the starter strip, which helps prevent leaks at the roof’s edge.
- Main Shingles: Continue with the main shingles, following the pattern and alignment specified by the manufacturer.
- Ridge Cap: Install ridge cap shingles along the roof’s peak to cover the top and give it a finished look.
5.4. Ventilation
Proper roof ventilation is essential to prevent heat and moisture buildup in the attic, which can lead to mold growth and reduce shingle lifespan. Install ridge vents, soffit vents, or other ventilation systems as needed.
6. Final Touches and Clean-Up
6.1. Final Inspection
Once the installation is complete, inspect the roof thoroughly. Check for any issues like improperly installed shingles, loose flashing, or areas that need extra attention.
6.2. Clean-Up
Remove all debris, old roofing materials, and any tools or equipment from the site. Make sure the area around the house is clean and free of leftover roofing materials.
7. Post-Installation Maintenance
7.1. Regular Inspections
To ensure your new roof lasts, schedule regular inspections. This helps catch and fix any issues early, such as damaged shingles or flashing.
7.2. Routine Maintenance
Perform routine maintenance tasks like cleaning gutters, checking for wear and tear, and ensuring the roof’s ventilation system remains clear and functional.
7.3. Addressing Repairs Promptly
If you notice any damage or leaks, fix them quickly. Early repairs can prevent bigger problems and help your roof last longer.
Conclusion
Residential roofing installation is a detailed process that requires careful planning, the right materials, and skilled work. By understanding the steps involved and working with a trusted contractor, you can ensure that your new roof offers excellent protection and enhances the look of your home for many years. Whether you’re installing a new roof or replacing an old one, attention to detail and proper maintenance are key to achieving the best results.