Installing a chimney is a significant home improvement project that requires careful planning and execution. Whether you’re upgrading an existing system or adding a new chimney to your home, understanding the process is essential for ensuring safety, efficiency, and compliance with local building codes. This comprehensive guide will walk you through everything you need to know about chimney installation, from the initial planning stages to the final touches.
Understanding Chimney Basics
Before diving into the installation process, it’s important to understand the basic components and functions of a chimney. A chimney serves several critical roles, including ventilation, safety, and efficiency. It safely directs smoke, gases, and other byproducts of combustion away from your home, prevents the buildup of dangerous gases like carbon monoxide, and reduces the risk of chimney fires. Additionally, a well-functioning chimney ensures that your heating system operates effectively, improving overall energy efficiency.
Types of Chimneys
There are several types of chimneys, each suited for different applications. Masonry chimneys are made from brick, stone, or concrete block and are known for their durability and aesthetic appeal. They can be built as part of the house’s structure or as a separate unit. Prefabricated (factory-built) chimneys are made from metal or other materials and are assembled at the factory. These chimneys are easier and quicker to install than masonry options. Metal chimneys, typically made from stainless steel or other metals, are often used for wood stoves and modern heating systems due to their ease of installation and resistance to corrosion.
Planning Your Chimney Installation
Proper planning is key for a successful chimney installation. First, determine the chimney’s purpose—whether for a fireplace, wood stove, or heating system—since this affects its design.
Check local building codes for height, materials, and construction methods to ensure safety and compliance. Assess the site for structural support and clearance from combustibles. Ensure a solid foundation for masonry chimneys, or adequate space for prefabricated or metal ones.
Select a chimney type that meets your needs and site conditions, considering cost, durability, and aesthetics. Obtain necessary permits before starting construction.
Installing a Chimney: Step-by-Step Guide: After planning, start installation by preparing the site—clear debris and ensure it’s level. For masonry chimneys, check the foundation’s sturdiness; for prefabricated ones, ensure clearance from walls.
Installing the Chimney Base and Stack: Install the base: pour a concrete slab or assemble per manufacturer instructions. Build the chimney stack: lay bricks with mortar for masonry, or assemble sections for prefabricated chimneys.
Add the Liner: Add the chimney liner to prevent corrosion and ensure ventilation. For masonry, use a flexible or rigid liner; for prefabricated, the liner is typically pre-installed.
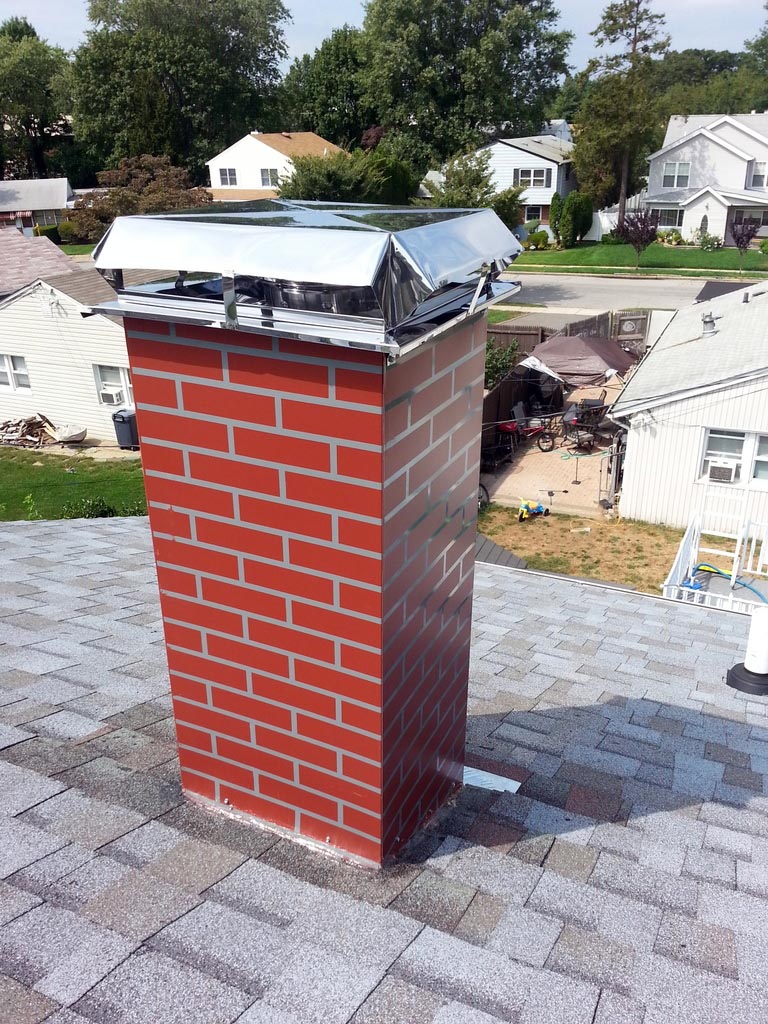
Attaching the Chimney Cap: Attach the chimney cap to prevent debris and animals from entering. Connect the chimney to the heating appliance, ensuring all connections are secure. Inspect for gaps, leaks, or misalignments and make adjustments as needed.
Post-Installation Considerations
After your chimney is installed, there are several important considerations to keep in mind. Regular maintenance is essential for ensuring the safety and efficiency of your chimney. Schedule annual inspections and cleanings to remove creosote buildup and check for any signs of damage or wear.
Monitor the chimney for any issues, such as smoke backing up into the home, unusual odors, or visible damage. Address any problems promptly to prevent more serious issues. Follow manufacturer recommendations and safety guidelines for using your heating appliance and chimney. Avoid burning materials that can produce excessive creosote or cause other problems.
Troubleshooting Common Chimney Issues
Even with proper installation and maintenance, issues can arise. Common problems include draft issues, which may be caused by obstructions in the chimney or issues with the chimney height. Ensure that the flue is properly sized for your appliance. Creosote buildup can be dangerous and should be addressed with regular cleanings by a professional. If you notice leaks or water damage around the chimney, inspect the chimney cap and flashing to ensure they are properly sealed and intact.
Conclusion
Installing a chimney is a complex project that requires careful planning, adherence to building codes, and proper execution. By understanding the different types of chimneys, following a detailed installation guide, and considering post-installation maintenance, you can ensure that your chimney functions safely and efficiently for years to come. Whether you’re upgrading an existing system or adding a new chimney to your home, taking the time to do it right will enhance your home’s comfort and safety while maximizing the performance of your heating system.